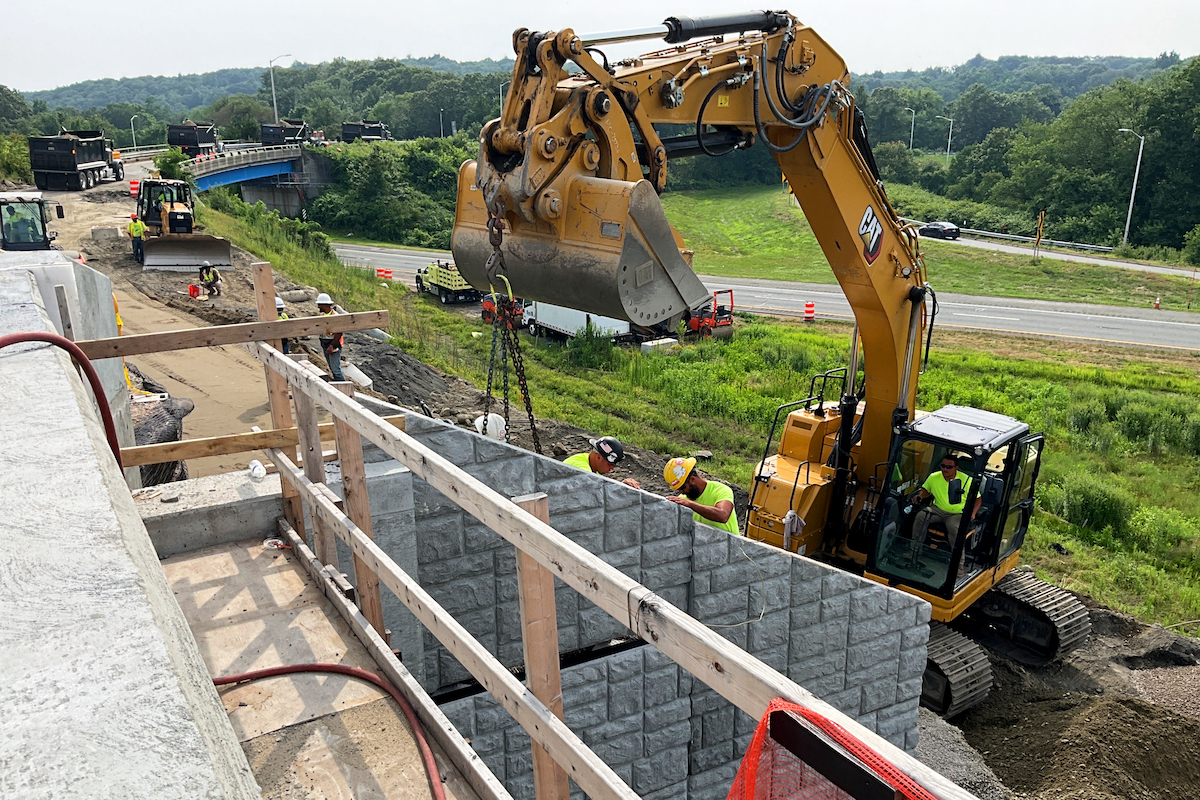
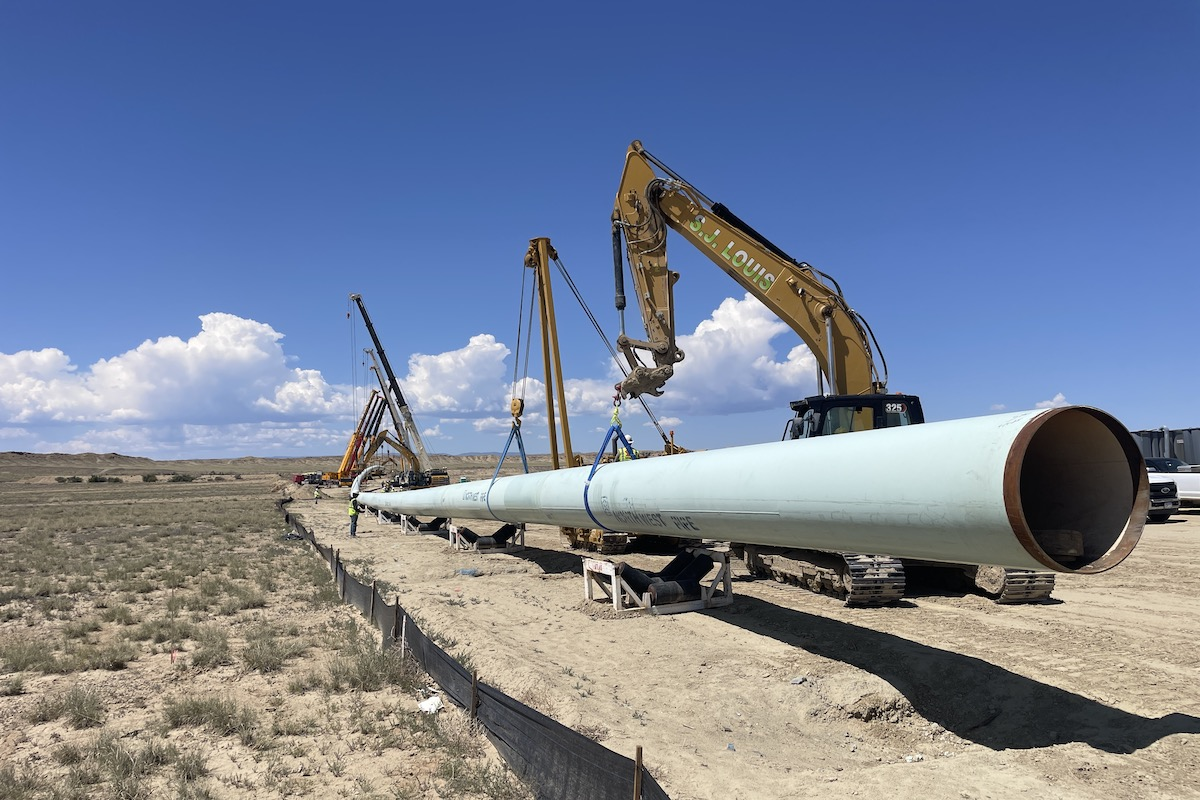
The common sight of excavators trenching and loading material on jobsites is a good sign that infrastructure development is alive and healthy. These machines are crucial to the success of our infrastructure initiatives and require meticulous planning and execution. However, simple trenching and loading tasks often become so common that it’s not unusual for operators to form habits – good or bad – in how they set up their worksites and use their machines.
If an operator forms bad habits, the consequences may include things like lost efficiency, unnecessary machine wear and tear, increased fuel consumption, costly rework, or unsafe working conditions.
Whether they’re new on the job or seasoned veterans, here are some things your operators can do to improve their precision and efficiency – and in the process, help keep crews and nearby pedestrians safer.
- Take time for setup. While it may seem second-nature, many operators skip proper setup. First, determine where you’ll put your spoil pile and bedding material and where you’ll stage pipe, if applicable. Make sure you aren’t setting yourself up to be boxed in as you work and use offset marks with paint lines or string lines to give yourself a reference point. This helps avoid moving material multiple times later on.
- Align the front and back of the excavator to your reference. Some excavator models come with a straight travel pedal which allows you to control the line with one pedal versus two. It makes precision much more attainable.
- Start with your paint line or marking path. Dig the teeth in enough to mark the direction of the trench so it’s in alignment.
- Be aware of the terrain. If the project isn’t on level ground, work to hold the grade. It’s much easier to do if your excavator is equipped with an in-cab operator machine control software. Volvo Dig Assist, for example, allows operators to input job specifications and get a real-time view on an in-cab display to track progress.
- If your excavator has it, use the boom float feature. This allows the bucket to maintain consistent, even contact with the ground and helps you create a smooth, level trench.
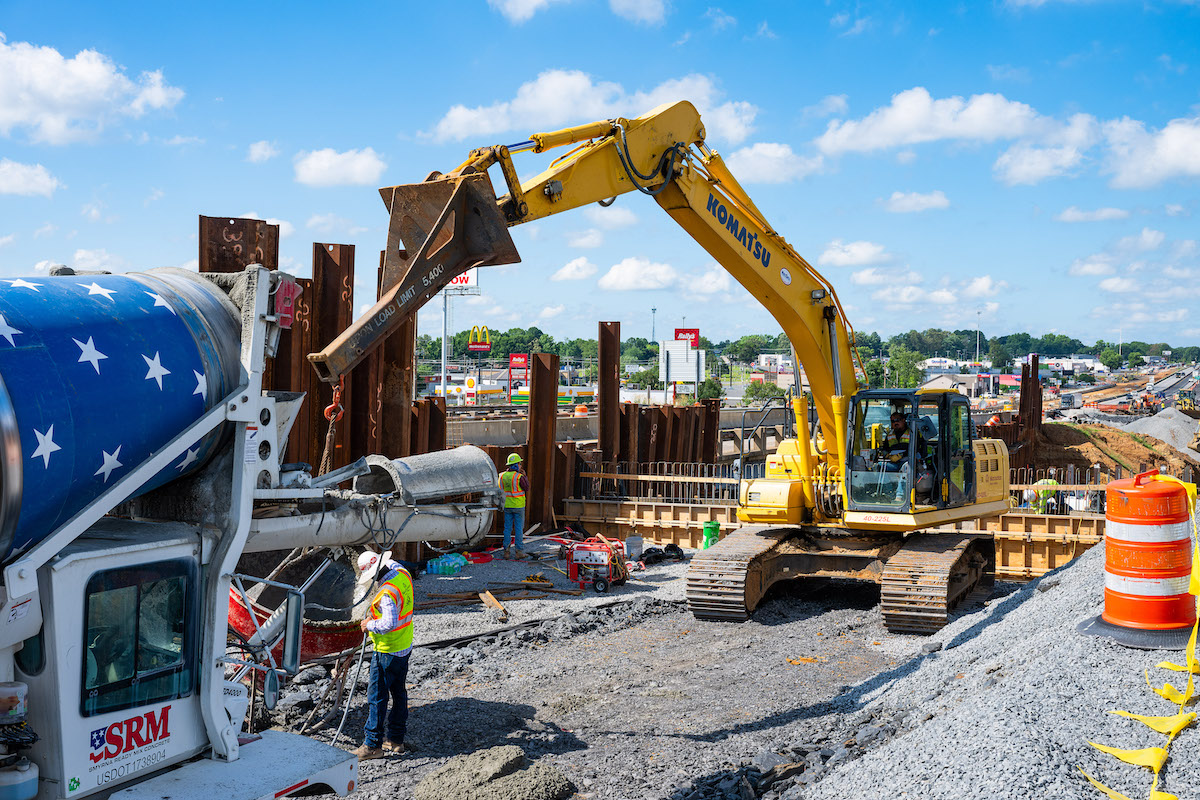
- As you’re digging and pulling material out of the trench, try to keep the area in and around the trench clean and free of debris to remove safety hazards and prevent trucks from backing over debris between loads.
- Help ensure safety by remaining aware of your track orientation. Don’t commit to a direction before doing a short acceleration test.
- Try to dig over front idlers when possible. And if digging over the side, be aware that the lifting capacity will be lower.
- Be sure to place spoils in the most appropriate location. OSHA requires the spoil pile be a minimum of 2 feet from the trench, but with many types of spoil, it should be much farther than that.
- And speaking of OSHA, the agency has other trenching requirements for inspections, access and egress, protective systems and more. Always follow OSHA guidelines for safe trenching.

| Your local Trimble Construction Division dealer |
|---|
| SITECH Northeast |
- Remember, you call the shots about the hauler position, so consider the following:
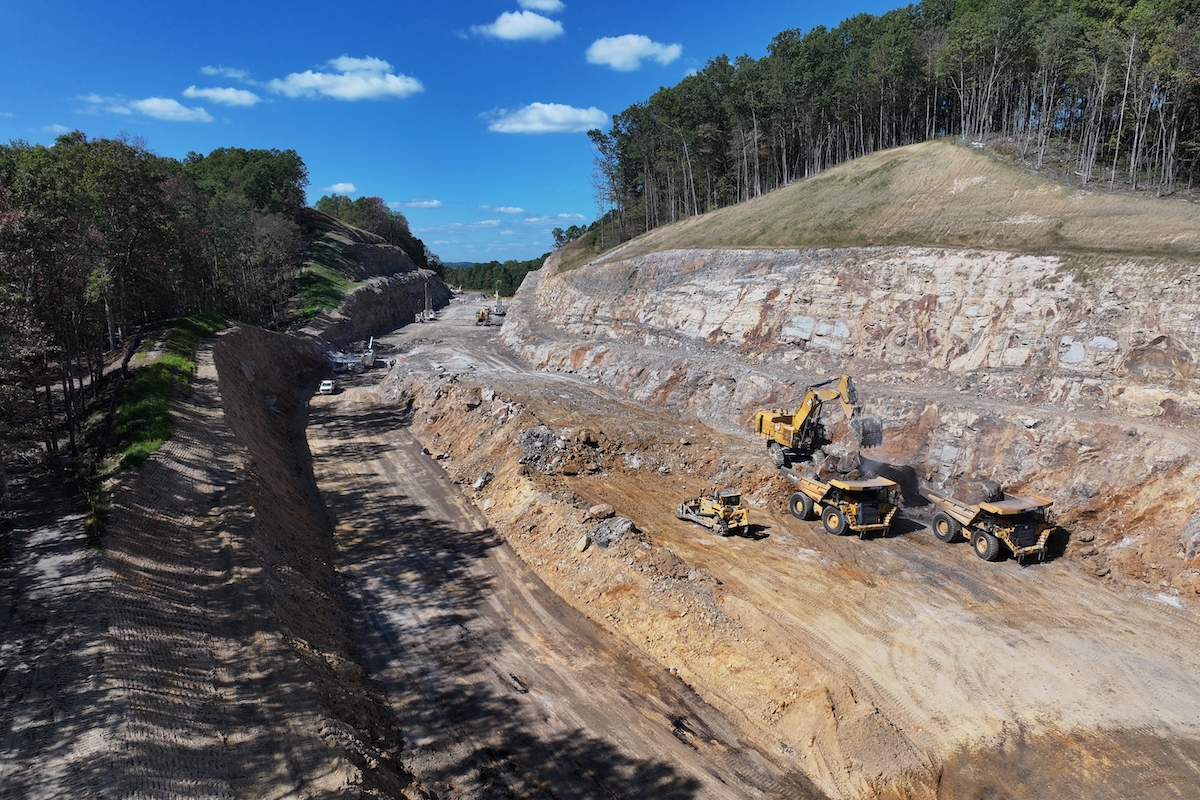
- Position your excavator at a height that’s efficient for loading. This means your bench height should be close to the height of the haul truck sideboards.
- Place the vehicle to be loaded in such a way that your machine doesn’t have to swing and travel more than necessary.
- Stay safe by remaining cognizant of your surroundings. Always be aware of any overhead or underground obstacles and use mirrors and cameras to your advantage.
- If you’re working in a confined area, some excavators come with front, rear and side cameras that provide real-time, overhead views of your machine during operation This helps operators see all angles to ensure safe rotation when surroundings are tight.
- Never swing the bucket or load over people or a cab.
While time is money, spending a few minutes to properly set up and map out how the worksite will function can increase your productivity and help keep you and your coworkers safer. Small adjustments can save valuable time – and for projects lasting a few months or longer, that saved time can make the difference between a met or missed deadline.


