Using a transducer (transmitting and receiving high-frequency sound), UT employs a mechanically induced sound wave to inspect the material’s physical properties (external and internal) of these components in order to identify any weaknesses, defects, wear or flaws that could compromise the safety of the bridge. Findings can include internal cracks, internal inclusions, hidden surface wear, and other types of defects that may not be visible to the naked eye. Once detected, the findings must be evaluated to determine the potential severity of each of those findings.
One of the main advantages of ultrasonic testing is that it allows engineers to examine the internal and hidden external areas relatively quickly and efficiently with minimal disruption to the bridge operations for its public users. Engineers can then identify and monitor advancing issues or direct repairs in an efficient and accurate manner.
Bridge pin inspection is particularly challenging due to the uneven surfaces and varying pin geometries. The technician must use precise equipment and understand the nuances of the specific bridge components being tested to accurately interpret the results. Different types of pins (straight or shouldered) can affect what appears on the screen, and even minor geometric oddities can be misinterpreted if not read properly. It is essential to have an experienced technician perform the UT inspection to ensure accurate results and reliable reporting.
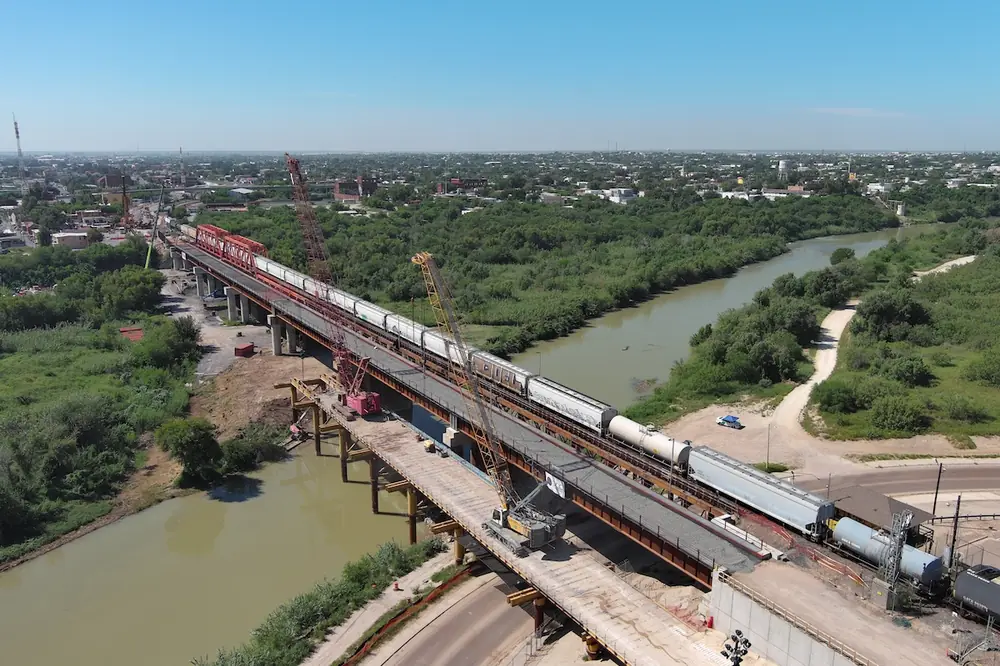
An example of a successful UT inspection was on a steel truss bridge constructed in 1909 and designed by Modjeski and Masters that runs across the Mississippi River. During a detailed inspection in 2007, 204 truss joint/hanger pins were evaluated with findings of surface corrosion, wear grooves, and gaps observed within the hanger pin assemblies. Ultrasonic testing revealed discontinuities in most of the pins including verification of visible wear grooves, identification of hidden wear grooves, areas of hidden corrosion and identification of internal flaws. Twenty eight of the 204 pins were found to have significant ultrasonic indications (indications warranting future monitoring) and three were found to have surface flaws. The non-invasive nature of UT allowed our technician/engineers to diagnose potential issues before they became a danger to the public.

| Your local JCB North America dealer |
|---|
| South Star JCB/Meinecke |
| Monk JCB |
| BOSS JCB |
| ASCO Equipment |
A good UT inspection is also not complete without proper documentation, a critical component of a successful inspection, as UT findings should be repeatable by future UT technicians. Documentation should include data sheets, sketches, and saved versions of pertinent screenshots (A-scans), which help engineers evaluate the UT operator’s interpretation and relocate the indications if needed.
While ultrasonic testing requires a deep understanding of engineering and physics, the process is almost as much art as it is science. The “art” is found in the interpretation of return signals – a skill gained through an understanding of UT sound wave propagation, a foreknowledge of what might be observed based on pin geometry, personal experience, and even the history of the bridge.
Another challenge is the orientation of discontinuities and surface boundaries. Defects that are oriented parallel to the sound waves may be more difficult to detect, and angular discontinuities can deflect sound and may require changes in which transducer to use. Incorrect pin geometry assessment can also result in “excessive” reflectors identified – which is why an experienced technician is required. In some cases, a complex geometry with numerous cutouts or lack of access to certain pin surfaces can make inspection difficult or nearly impossible.
Temperature can also be a challenge during an inspection. Since the speed of sound waves can change with temperature, the accuracy of an inspection may be compromised given that it relies on these waves for an accurate reading. The operator must change the frequency accordingly, but this creates more beam spread and reduces the clarity and detail of the inspection.
- Level I is the entry-level certification for UT technicians. It allows the individual to set up and calibrate equipment, perform basic UT examinations, and prepare reports under the supervision of a Level II or Level III technician.
- A Level II technician is able to independently set up and calibrate equipment, perform basic and advanced UT examinations, prepare reports, and provide guidance to Level I technicians under a specific procedure approved by a Level III technician.
- A Level III technician is able to perform all tasks of a Level II technician, as well as develop and implement UT procedures, select and justify the use of UT techniques, and provide guidance to Level I and Level II technicians
When selecting an inspector for the job, bridge owners should carefully consider the experience and qualifications of a technician, as well as certification level. It’s possible for an individual to be certified in UT, but not be prepared to inspect all types of bridge pins or welds thoroughly and accurately. Experience is key – training and certifications do not replace a UT technician versed in examining the intricacy of bridge pins and their unique properties. Welds can be equally intricate. Welds and bridge pins are different animals when it comes to the application of ultrasonic testing.
Since its inception more than 80 years ago, ultrasonic testing remains the most valuable and reliable tool for evaluating the condition of bridge pins, welds, and gusset plates. With the depth of knowledge that goes into the inspection of these vital components –along with the promising future of technology and its role in engineering – ultrasonic testing continues to minimize the risk of failure and help ensure the safety and reliability of our everyday bridges.
Mike Januszkiewicz, PE, is a Senior Project Manager and Assistant Director of Field Services at the bridge engineering firm of Modjeski and Masters. He is also a Quality Control Engineer for Bridge Inspection for Poughkeepsie, New York, and Mechanicsburg, Pennsylvania, Non-Destructive Testing (NDT) Program Coordinator, and Technical & Rope Access (TARA) Program Coordinator and Climbing Instructor for specialized climbing/rappelling inspection and high-angle rescue.


